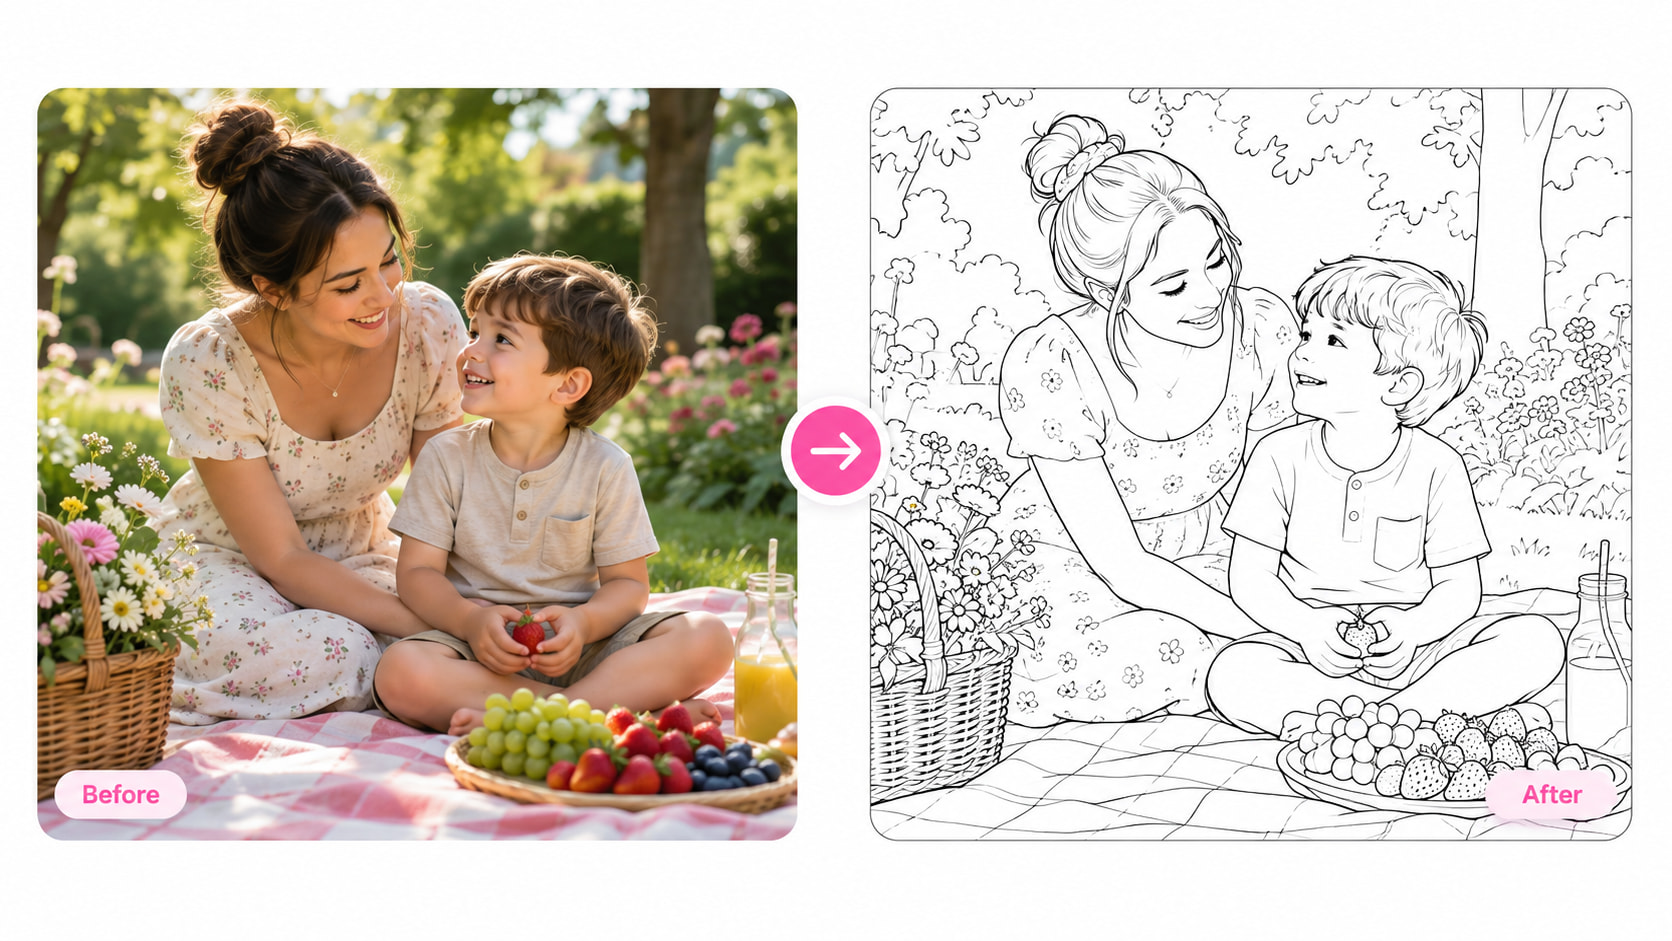
In a world where creativity meets convenience, turning a photo into a colouring page offers a unique way to inspire artistic expression. This method stands out against conventional colouring sheets that often lack personal touch. By transforming cherished photographs into custom colouring pages, you provide students or children with a meaningful experience. This guide explores how to effectively create these personalised templates and the various practical applications in a classroom or home setting.
Using Pdf Templates to Create Custom Colouring Pages
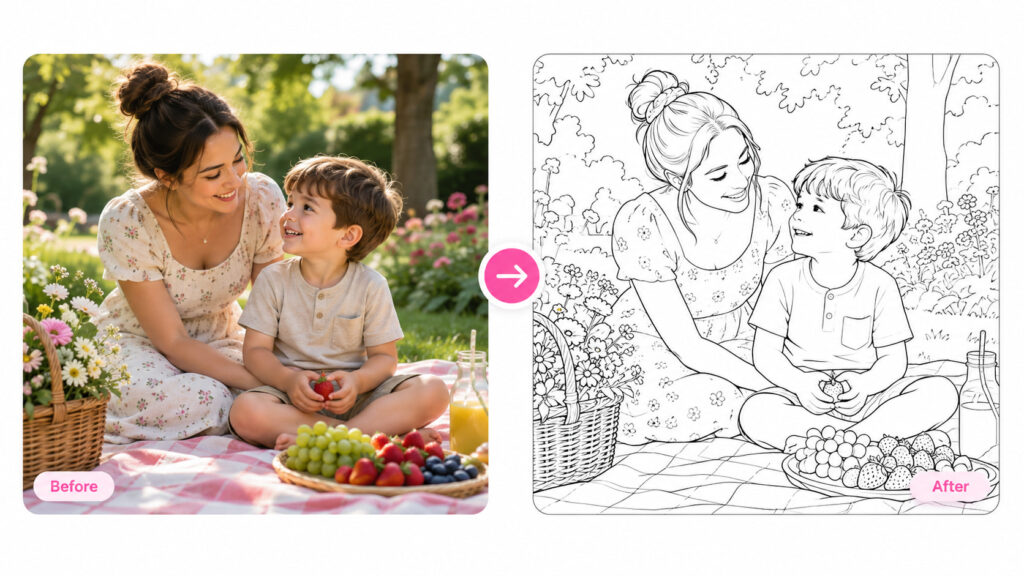
One of the most efficient ways to turn a photo into a colouring page is through PDF templates. These formats ensure that your images maintain high quality and clarity when printed. Most photo editing software and online tools allow you to upload a photo and convert it into a black-and-white outline, perfect for colouring.
When choosing a PDF template, look for options that allow for easy editing. This way, you can adjust the thickness of the outlines or add additional elements to the design. An editable PDF gives you the flexibility to create a colouring page that suits specific themes or subjects, such as holidays or particular lesson plans.
Recommended Paper Sizes for Printing
When printing your colouring pages, the paper size can significantly affect the final result. Here are some common sizes to consider:
- Letter Size (8.5″ x 11″): Ideal for standard printers and common for worksheets.
- A4 Size (8.27″ x 11.69″): Widely used outside North America; ensures compatibility with various printing options.
- Tabloid Size (11″ x 17″): Great for larger images, allowing more detail for students to colour.
It’s advisable to use thicker paper, such as cardstock, especially if you plan to use markers or watercolours. This prevents bleed-through and allows the final artwork to last longer.
Free Downloadable Resources for Teachers
Many websites offer free downloadable resources that allow you to turn photos into colouring pages. These can be particularly useful for teachers looking to enhance their curricula without incurring costs.
When searching for these resources, consider the following:
- Variety of Themes: Look for sites that provide templates across various subjects, like animals, landscapes, or historical figures.
- Grade Level Suitability: Ensure that the templates are appropriate for your students’ age and skill levels. For younger children, simpler designs work best, while older students may appreciate more complex images.
- User Reviews: Check for feedback from other educators who have used the templates. This can guide you in selecting high-quality resources.
By leveraging these free downloads, teachers can save time while providing engaging materials that connect with their lesson plans.
Editable Colouring Pages for Personalisation
Personalisation is key when engaging students in creative activities. Editable colouring pages allow teachers to modify images to better fit their classroom themes or individual student needs.
For example, consider a lesson on animals where students can colour a picture of their favourite pet or wildlife. By using an editable template, teachers can incorporate specific animals relevant to the lesson, making it more relatable and exciting.
Tools for Editing Images
To edit images effectively, several tools are available:
- Adobe Photoshop: Offers advanced features for detailed editing and conversion.
- GIMP: A free alternative with robust editing capabilities.
- Online Converters: Websites like PicMonkey or Canva provide user-friendly interfaces to turn photos into outlines without needing extensive software knowledge.
When selecting a tool, consider your comfort level and the complexity of the photo you want to convert. Simple images may require less advanced software, while intricate designs might benefit from more detailed editing tools.
Practical Considerations for Printing and Distribution
After creating your colouring pages, practical considerations for printing and distribution come into play. It’s essential to ensure that the final product is both accessible and engaging for students.
Best Practices for Printing
- Test Print: Always do a test print to ensure the outlines are clear and the size fits your requirements.
- Quality Check: Use a high-resolution image for conversion. Low-quality images can result in blurry outlines.
- Batch Printing: If you require multiple copies, print in batches to save time and ensure consistency in quality.
Distribution Methods
- Digital Sharing: For remote learners or hybrid classrooms, consider sharing the colouring pages digitally. Platforms like Google Classroom allow easy distribution.
- Physical Copies: For in-person classes, have printed copies ready to distribute during art sessions. This hands-on approach fosters engagement.
When preparing for distribution, always ensure that the colouring pages are age-appropriate and relevant to your lessons. This keeps students motivated and enhances their learning experience.
turning a photo into a colouring page is an innovative way to enhance creativity and engagement in educational settings. By utilising PDF templates, free resources, and editable pages, teachers can create personalised experiences that resonate with their students. Pay attention to practicalities such as printing settings and distribution methods to ensure that the final product is both effective and enjoyable. Always watch out for the quality of the original photo used, as this will significantly impact the clarity of the final colouring page.
